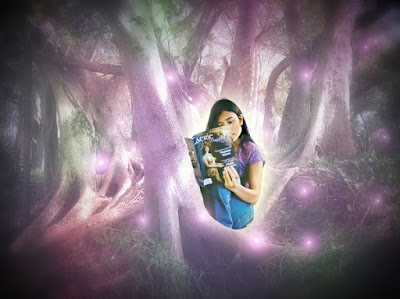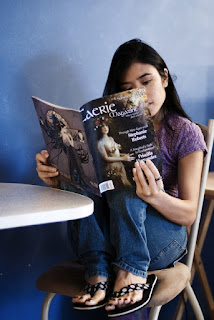
This picture was so unplanned. The magazine-reading picture was taken in the spur of the moment. When I saw it, I had a different vision for how it would be processed. This look was inspired by a Photoshop Magazine (Issue 47). I followed a couple of the steps, like using the colored layer, but I mostly got the results through trial and error.
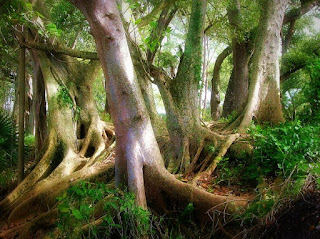
To create this, I combined 2 pictures I took.
This one was taken last year with my point and shoot, and was processed to look super pretty. It was sitting in my hard drive for use one day ... :

This unprocessed photo was taken this weekend, minutes before the picture I took with Shadow:

And this I created with Photoshop, using the steps in the magazine:

Here are the steps I took to create the dreamscape photo:
I adjusted the curves to the forest picture so it looked really faded.
I played with curves on the magazine-reading picture and then layered it on top of the forest one, masking out the table and surroundings.
I then added an outer glow to my silhouette.
I created the colored layer via Photoshop and added that as a layer, adjusting the opacity to make the appearance subtle.
I added a layer with nothing on it, and used the blending mode screen overlay.
I added faerie lights using outer glow.
Lastly, I added a dark vignette.
Hence, my dreamscape. :)
~~~~~~~~~~~~~~~~~~~~~~~~~~~~~~~~~~~~~~~~~
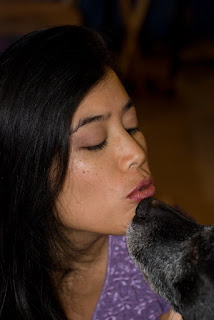
And this is my unprocessed picture of Shadow and I. I used the techniques in the Photoshop Creative (Issue 39) magazine to create a high-key look (for the photo below this one). There's probably a quicker way to create the same effect than the steps it gave (which is too extensive for me to list here), but I derive knowledge and experience when I take the long way and get better at navigating through Photoshop. Anyway, aside from creating the high-key look, I masked out the background and replaced it with white:

Hope you found this helpful :)
No comments:
Post a Comment